Dear Shipsomniac,
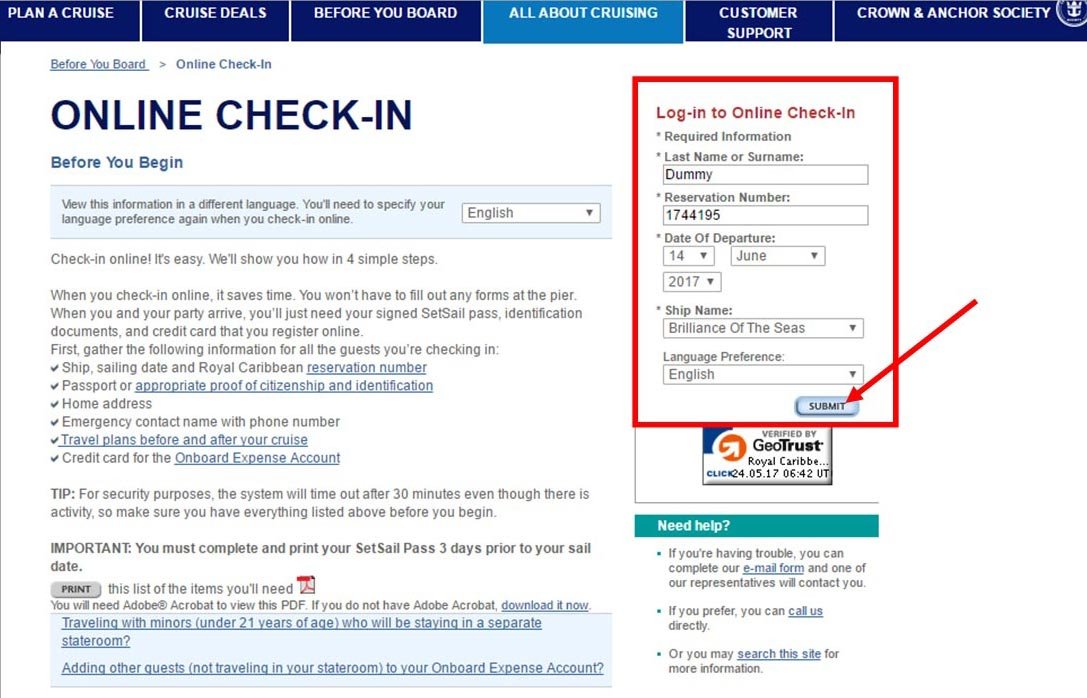
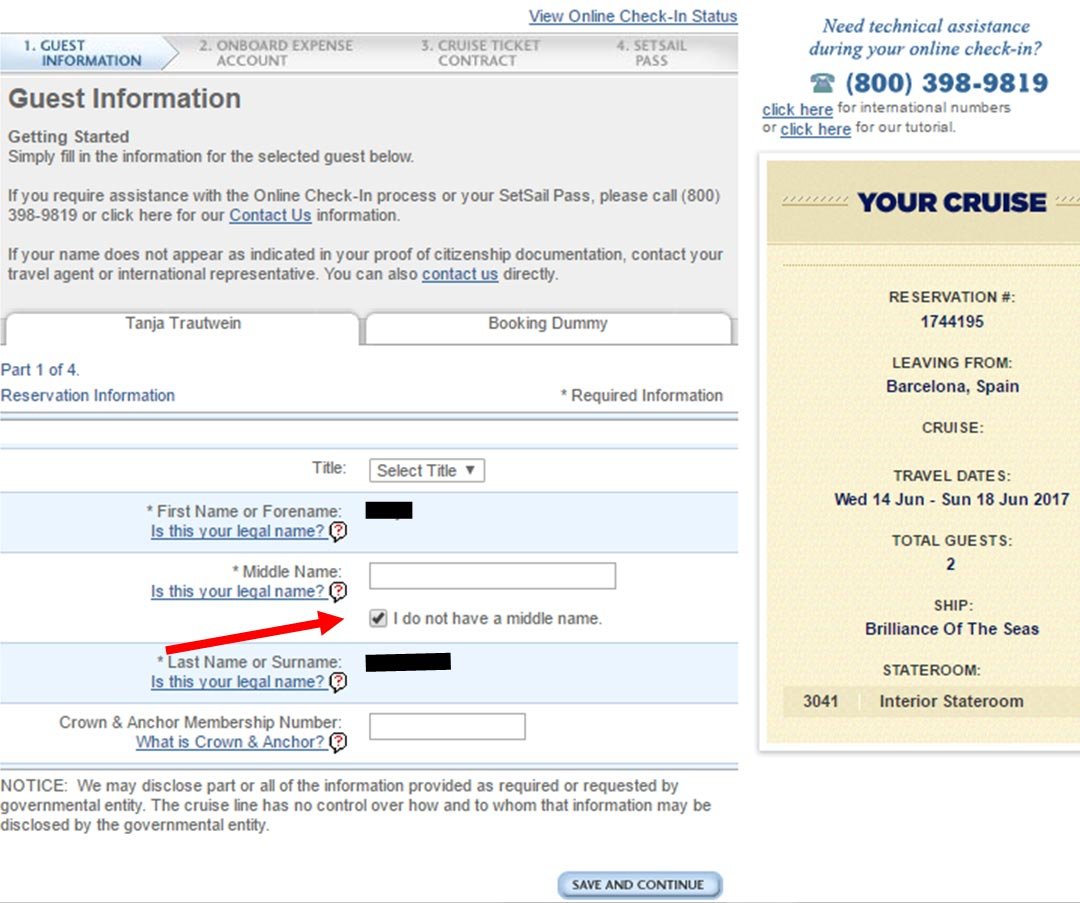
On this page you will find detailed information on how to do your online check-in. It’s actually quite simple and you can easily just go to the Royal Caribbean website and figure it out yourself, but here’s a step by step guide if you get stuck or have any questions along the way. Remember, Guests must use their individual booking number found in the email we just sent you, to access the on-line check in system.
Note:
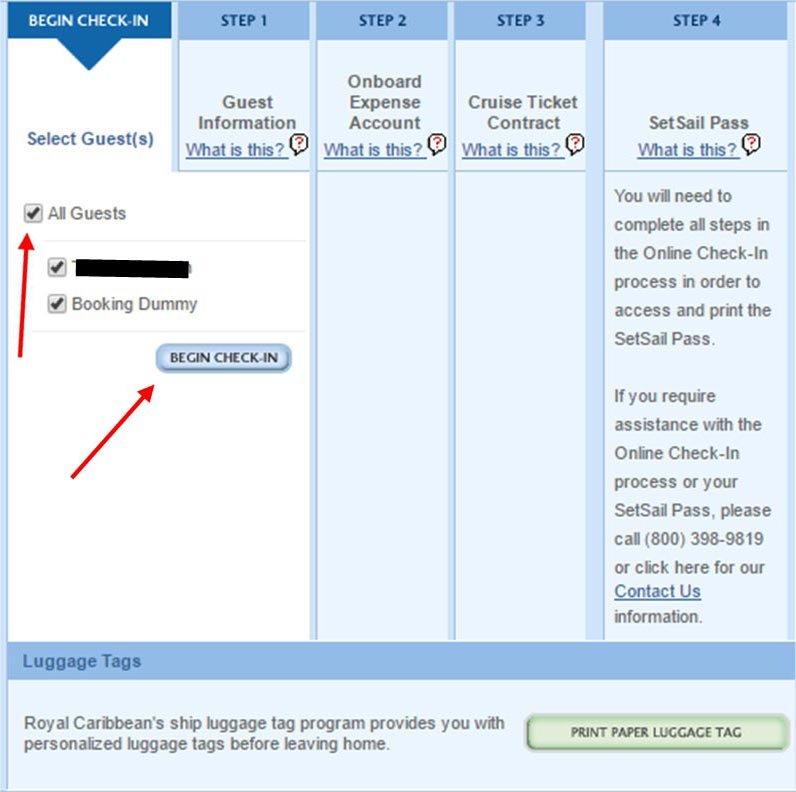
- Online check- in must be completed prior to 3 days to sailing.
- Note that you have 30 mins to complete each page before it times out.
Don’t use the “back button”. INSTEAD they should use the EXIT button, which is located underneath the SAVE AND CONTINUE button. - Each time you complete a section, click Save and Continue or else you’ll need to re-enter the info.
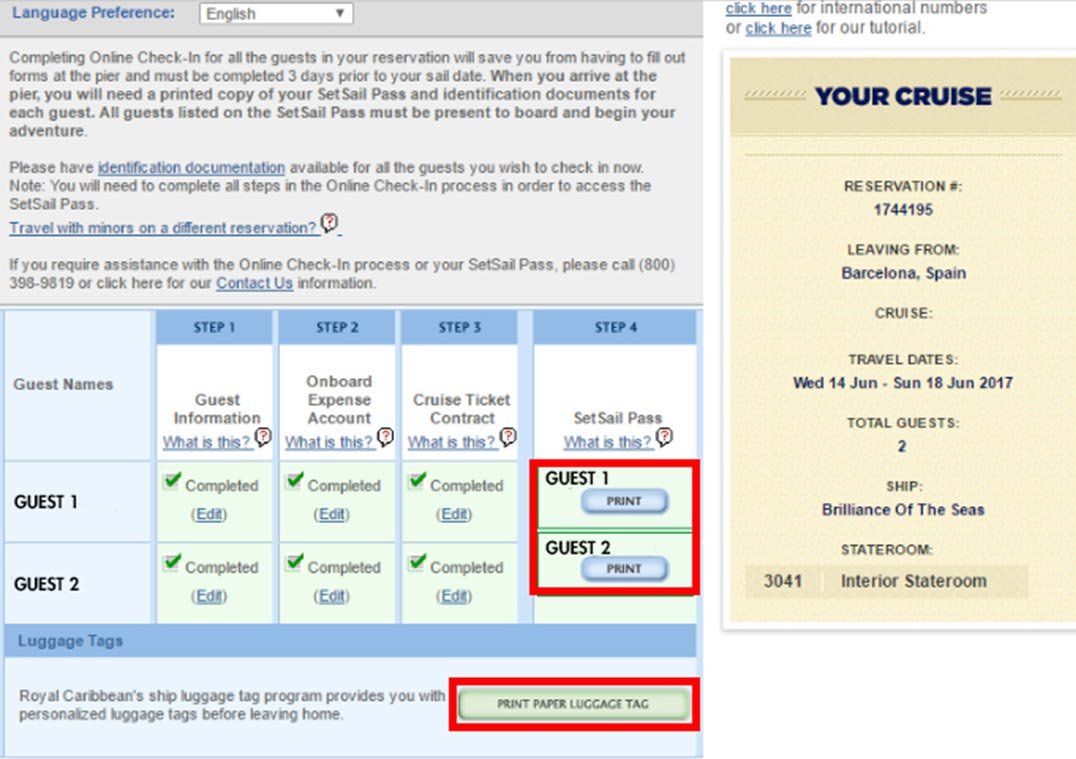
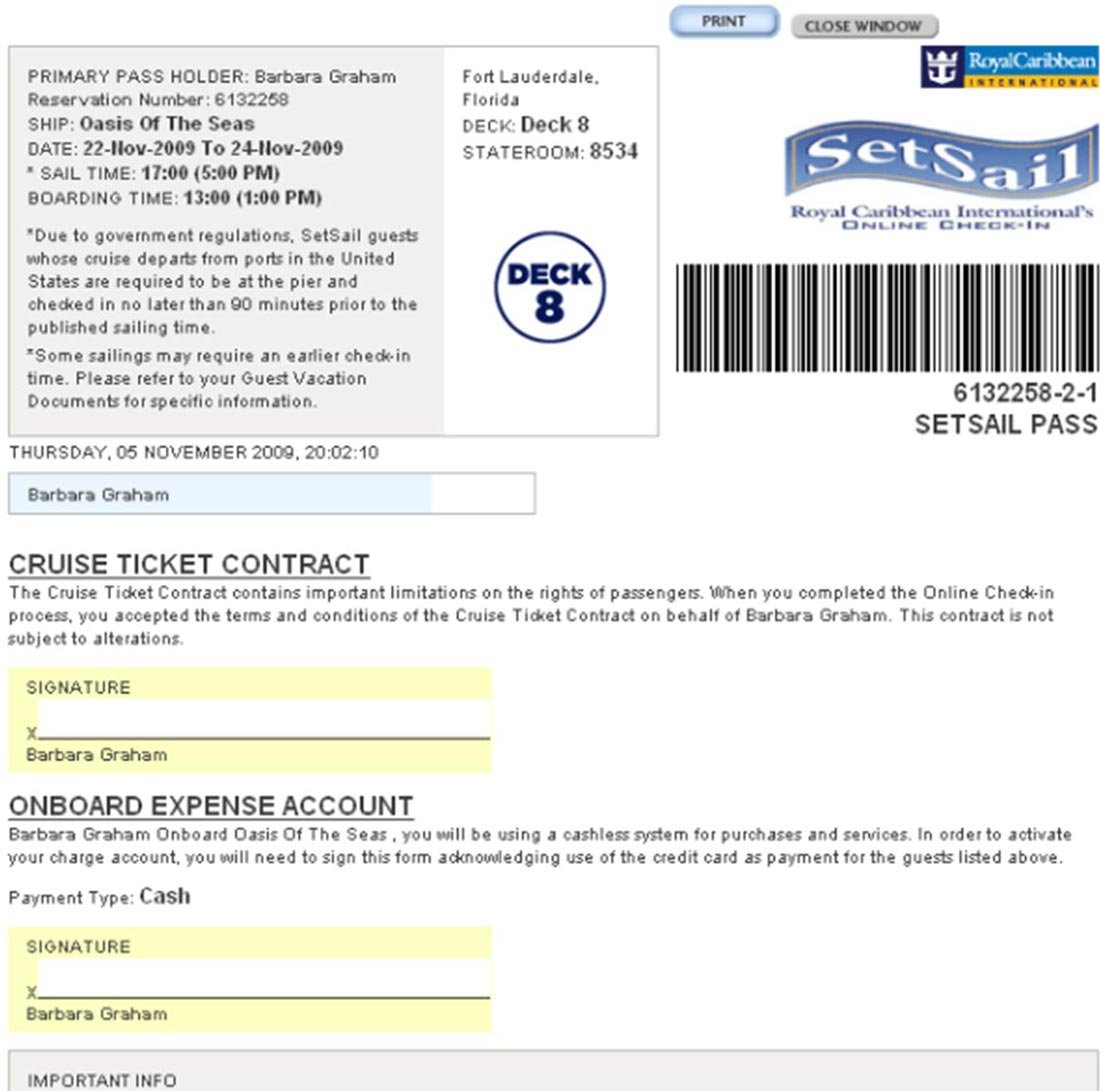
- Print option is available until the day prior to sailing.
- If pop-up blockers are turned on, this may prevent the completion and printing of the Set Sail Pass. Guests should make sure to turn the pop-up blockers off.
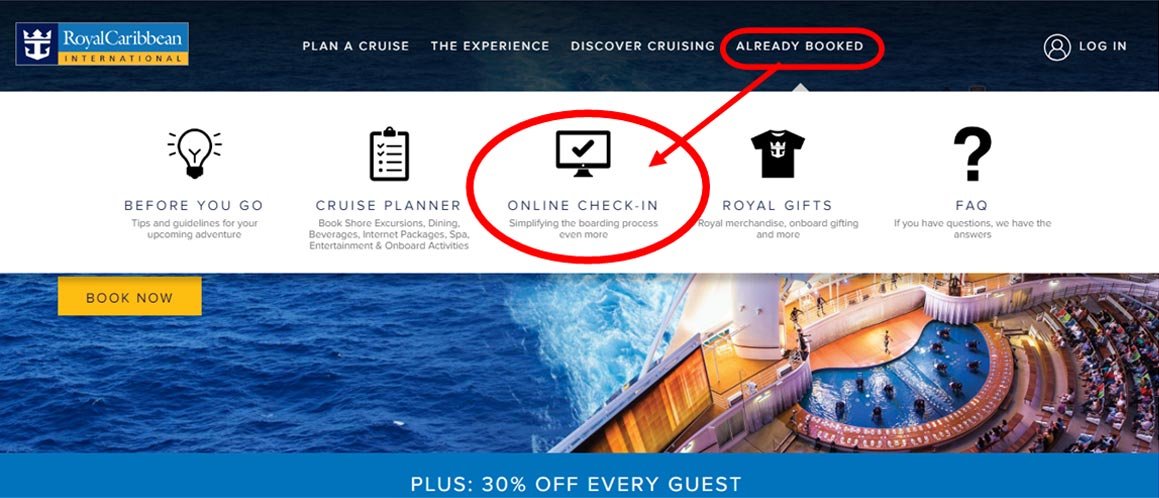
Access the check-in system at the Royal Caribbean International website here: www.royalcaribbean.com
Then in the top menu bar, hover over “Already Booked” then click on “Online Check-In”.